
Drawing a cat might seem like the most complex artistic endeavor known to humanity, but with a bit of guidance, you'll find it quite manageable. You'll start with basic shapes—an oval for the body and a circle for the head—to guarantee the proportions are right. Then, by adding almond-shaped eyes, a small triangle for the nose, and symmetrical ears, you'll begin to see the cat's personality emerge. Before long, you'll outline the body, legs, and tail, capturing its graceful form. The next steps will bring it all to life, so let's get started on this artistic journey.
Gather Your Materials
Before you begin drawing your cat, you'll need to gather a few essential materials. Having the right drawing tools on hand will make the process smoother and more enjoyable. Start with a good quality sketchbook or drawing paper; the texture can greatly influence your line quality. Choose paper that's smooth but has enough tooth to grip the pencil marks.
Next, you'll need a range of pencils. A set that includes HB, 2B, and 4B pencils is ideal. The HB pencil is perfect for light sketches and initial outlines, while the 2B and 4B pencils will help you add depth and shading. An eraser, particularly a kneaded one, is also essential. It allows for gentle corrections without damaging the paper. A fine-tip eraser can help with tiny details, especially when you're working on the intricate parts of cat anatomy like whiskers and fur texture.
Colored pencils or markers can be useful if you want to add color to your drawing. Make sure they're high quality to guarantee vibrant, blendable colors.
Additionally, a ruler and a compass can help you maintain proportions and symmetry, which is vital when capturing the graceful lines and curves of a cat's body. You might also find a blending stump helpful for shading and creating smooth changes between light and dark areas.
Outline Basic Shapes
With your materials ready, let's move on to outlining the basic shapes of your cat. This step is vital because it helps you map out the overall structure before diving into details. Start by drawing a large oval or circle in the center of your paper. This will serve as the cat's body. Don't worry about making it perfect; it's just a guideline.
Next, add a smaller circle on top of the large oval. This smaller circle will eventually become your cat's head. To guarantee your cat looks proportionate, make sure the smaller circle is about one-third the size of the larger one. If you need to, lightly sketch a few versions until the proportions look right to you.
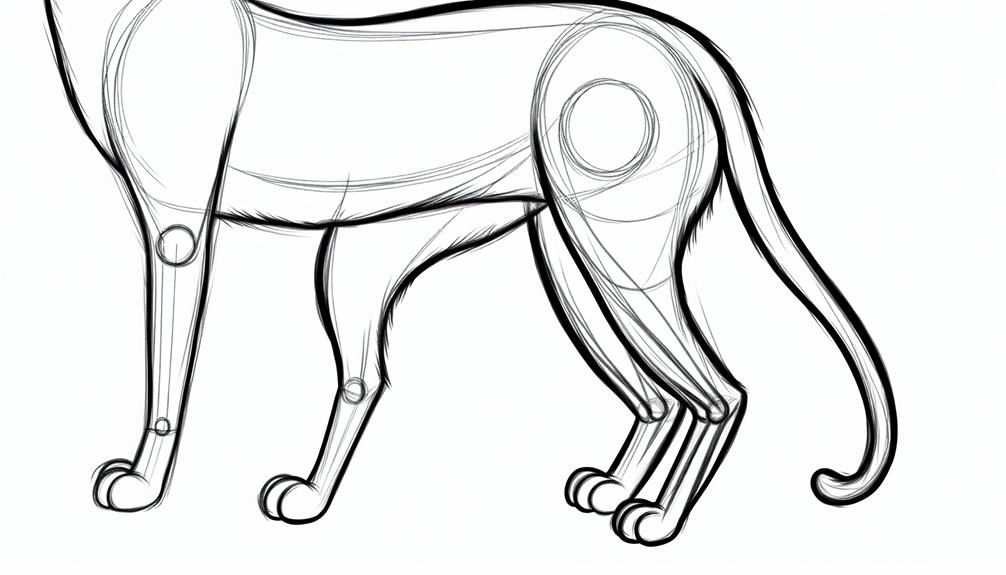
Now, let's add the legs using basic geometric forms. Draw two elongated ovals or rectangles extending from the bottom of the large oval for the hind legs. These should be angled slightly outward to mimic the natural stance of a cat. For the front legs, sketch two thinner, slightly shorter ovals or rectangles coming down from the front of the body oval.
Next, add a tail by drawing a long, curved line extending from the lower part of the body oval. The tail can be any shape you like, but a simple curved line works well for now. Finally, sketch two small triangles on top of the head circle for the ears.
These basic shapes will serve as the blueprint for your cat drawing. Take your time, and don't be afraid to adjust the shape proportions as needed. You're building a solid foundation for the detailed work ahead.
Draw the Cat's Head
Now that you've got the basic shapes down, it's time to focus on drawing the cat's head. Start by refining the circle you sketched earlier for the head. This circle will act as the foundation, so make sure it's smooth and well-defined.
Next, draw a vertical line down the middle of the circle and a horizontal line across it. These lines will help you maintain proper head proportions and symmetry. Where these lines intersect will be the center of the cat's face.
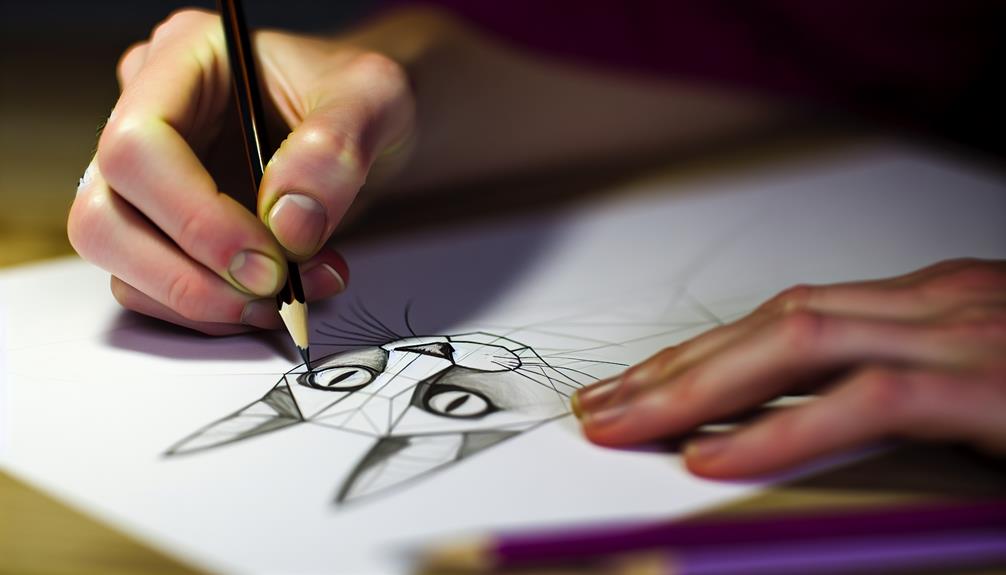
For the eyes, sketch two almond shapes on either side of the vertical line, just above the horizontal line. These should be spaced evenly, as cats have wide-set eyes that contribute to their distinctive cat expressions. Make sure to leave a gap between the eyes that's about the width of one eye.
Below the horizontal line, draw a small, upside-down triangle for the nose. Position it slightly above the bottom of the circle. From the bottom of the nose, draw two gently curving lines to form the cat's mouth. These should curve downward and then slightly upward, creating a subtle "W" shape.
Next, add the ears. Draw two triangles on top of the head, making sure they're symmetrical. The base of each triangle should start from the horizontal line, extending beyond the top of the circle.
Finally, refine the jawline by adding smooth, curving lines from the bottom of the ears to the chin. This will give the head a more natural, rounded look.
Take your time with these steps, and don't rush. Getting the cat's head proportions and expressions right will set a strong foundation for the rest of your drawing.
Sketch the Body
You've got the cat's head looking just right, so let's move on to sketching the body. Start by lightly drawing an oval shape for the torso, making sure it's proportionate to the head. A cat's body is typically about three times the length of its head. Visualize where you want to place the oval, ensuring it's aligned with the head so your cat looks natural and balanced.
Next, consider the cat poses you might want to capture. Whether your cat is sitting, stretching, or lying down, the body proportions will slightly change, so it's essential to decide on the pose before proceeding. For a sitting cat, the oval should be more upright, while a stretched or lying down pose requires a more elongated oval.
Once you've got the basic shape, refine the oval to reflect the cat's smooth, sleek form. Add slight curves to indicate the spine and chest area. Pay attention to the flow of the lines, as cats are known for their graceful, fluid movements.
Now, place a smaller oval or circle at the end of the torso where the hips will be. This will help you visualize the body proportions better and provide a guide for where the legs and tail will attach later on.
Take your time to adjust the shapes until they look just right. Remember, it's okay to erase and redraw until you're satisfied with the overall shape. With the body sketched out, your cat is starting to take form, and you're well on your way to creating a lifelike feline friend.
Add Legs and Tail
Now that you've sketched the body, it's time to add the legs and tail. Start by drawing basic shapes for the legs, keeping them proportionate to your cat's body. Next, refine the leg anatomy with joints and muscle definition, and finish by positioning the tail to flow naturally with the body's curvature.
Sketch Basic Leg Shapes
When sketching the basic leg shapes, start by focusing on the cat's front legs. Begin by observing the cat anatomy, particularly noting how the front legs are straight and sturdy. Draw two vertical lines from the chest area, ensuring the leg proportions are realistic. The upper part of the leg should be thicker, gradually tapering down to the paws.
Next, move on to the back legs, which have a different structure. Cats' back legs are more muscular and bent, creating that characteristic feline stance. Start by sketching an oval for the thigh, connecting it to the body. From there, draw a slightly bent line down to the paws, showing the knee joint. This will help you capture the natural bend in the back legs.
Now, it's time to add the tail. Position it coming from the base of the spine, and make it curve naturally. The tail can be straight, curved, or even curled, depending on the cat's pose. Keep in mind that the tail adds balance to the drawing, so its flow should complement the overall posture.
Take your time, and don't rush. The more you practice, the better you'll understand cat anatomy and leg proportions.
Define Leg Anatomy
To define the leg anatomy and add the legs and tail, start by refining the shapes you've sketched earlier. Focus on the natural flow and movement that characterize a cat's body. Here's how to achieve this:
- Refine the Front Legs: Begin by drawing more defined lines over the basic shapes. Remember, the front legs should show the joints clearly – the shoulder, elbow, and paw. Notice how a cat's front legs slightly curve inward when in a relaxed feline posture.
- Shape the Hind Legs: Cats have powerful hind legs, so emphasize their strength by drawing bold, muscular lines. The hind legs should bend at the knee and angle back towards the cat's body, showcasing their readiness for agile cat movement.
- Draw the Paws: Add detail to the paws by illustrating the toes and claws subtly. Cats' paws are small but expressive, showing their readiness to leap or pounce.
- Add the Tail: Sketch the tail with a fluid, natural curve. Though we'll discuss tail position and flow next, guarantee it starts naturally from the base of the spine, adding to the overall balance and grace of the cat's posture.
With these steps, your cat's legs and tail will start to look more lifelike and dynamic.
Tail Position and Flow
Having refined the legs and tail shapes, let's focus on capturing the tail's position and flow. The tail is vital in conveying your cat's emotions and balance. Start by considering the tail dynamics—its curves, twists, and the way it interacts with the body.
- Curved Tail: Symbolizes curiosity or playfulness.
- Straight Tail: Indicates confidence or alertness.
- Tucked Tail: Suggests fear or submission.
- Fluffy Tail: Shows excitement or agitation.
Here's a simple table to evoke the emotional context of each tail position:
| Tail Position | Emotion | Description |
|---|---|---|
| Curved | Curiosity | Gentle curve, often mid-length |
| Straight | Confidence | Upright, slightly stiff |
| Tucked | Fear | Close to the body, often under the legs |
| Fluffy | Excitement | Fur puffed out, tail looks larger |
Now, draw the tail with a light hand to capture its fluidity. Focus on the natural flow; tails rarely look rigid. Observe how cats use their tails for balance—this adds to the tail symbolism and enhances realism. Practice these steps, and you'll see your cat drawings come to life with expressive tails!
Refine and Detail
Now it's time to refine your cat drawing by adding facial features, enhancing the fur texture, and perfecting the body structure. Start by carefully sketching the eyes, nose, and mouth to give your cat character and expression. Next, use short, light strokes to create a realistic fur texture, and make any necessary adjustments to the body shape to guarantee it looks natural and balanced.
Adding Facial Features
Why not bring your cat drawing to life by refining and detailing its facial features? This step is where your cat's personality truly shines. Follow these steps to make your drawing more realistic and engaging:
- Define the Eye Shapes: Start by sketching the eyes. Cats have unique, almond-shaped eyes that taper towards the inner corners. Verify they're symmetrical and positioned correctly relative to the nose and ears.
- Detail the Pupils and Irises: Draw the pupils as vertical slits, typical of cats. Add a highlight spot to give them a lifelike sparkle. The irises should be large and cover most of the visible eye area.
- Nose and Mouth: Outline the small, triangular nose. Connect it to the mouth with a gentle curve resembling an upside-down 'Y'. Add subtle shading to create depth.
- Whisker Placement: Carefully draw whiskers extending from the sides of the nose and above the eyes. They should be long, slightly curved, and evenly spaced to capture their natural look.
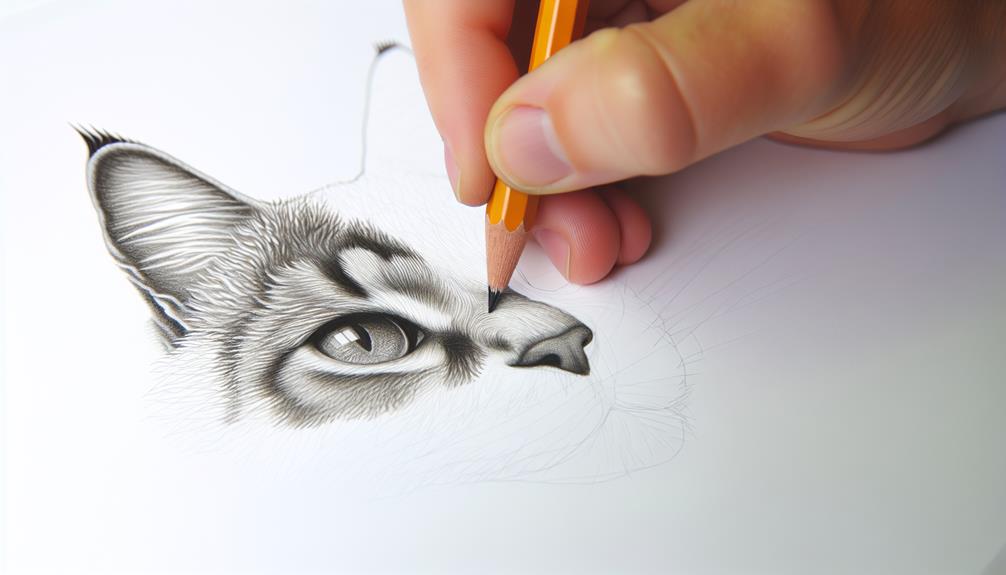
Enhancing Fur Texture
With your cat's facial features beautifully detailed, it's time to bring its fur to life. To start, consider the direction of the fur. Use short, light strokes for areas like the face and longer, sweeping strokes for the body. This will give your drawing a natural flow.
Begin with a base layer using soft, light pencil strokes. This initial layer will help you map out the fur's direction and texture. Once the base is set, use fur shading techniques to add depth. Gently darken areas where shadows naturally fall, like under the chin, around the ears, and along the sides of the face.
Next, apply layering methods to build up the fur's density and richness. Go over your base layer with slightly darker strokes, gradually building up to darker tones. Don't press too hard; multiple layers will create a more realistic texture. Vary the length and direction of your strokes to mimic the natural, uneven look of fur.
Perfecting Body Structure
Achieving a well-proportioned body structure for your cat is essential for a realistic drawing. It's all about understanding cat anatomy and applying proportion techniques. Here's how you can refine and detail your cat's body structure:
- Start with Basic Shapes: Outline the body using simple shapes. A large oval for the torso, a smaller one for the head, and circles for joints. This helps to set the framework.
- Proportion Techniques: Pay attention to the length and width of each part. The body should be about three heads long, and the legs should be proportional to the torso.
- Add Muscles and Joints: Sketch in the muscles and joints, focusing on the natural curves. This makes your cat look more lifelike and dynamic.
- Refine the Details: Gradually add finer details like the curve of the spine, the positioning of the legs, and the tapering of the tail. Verify the lines flow smoothly to capture the cat's grace.
Conclusion
You've sketched your way through the journey of bringing a cat to life on paper. As you add the final touches, remember each line and stroke symbolizes the grace and mystery of your feline muse. Don't rush—every detail, from the twitch of a whisker to the curve of a tail, breathes character into your creation. With patience and practice, your cat will leap off the page, embodying the spirit and elegance of these enchanting creatures.