Just as Sherlock Holmes would inspect a crime scene, you'll need a keen eye to clean your cat's ears effectively. It's not a task to rush through, and there are specific steps you should follow to guarantee your feline friend's ears are healthy and debris-free. First, you'll need to gather the right supplies, and then there's the essential timing to take into account. But before you even think about applying any cleaning solution, there's an important initial step you can't afford to miss. Want to make the process smooth and stress-free for both you and your cat? Let's get started.
Gather Your Supplies
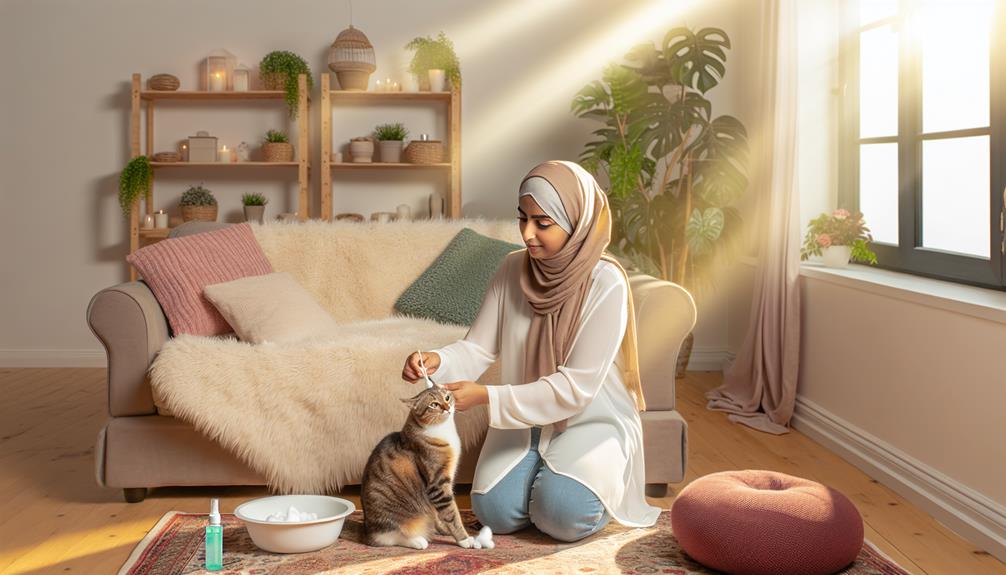
Before you begin cleaning your cat's ears, it's important to gather all the necessary supplies to guarantee the process goes smoothly. Proper preparation assures not only your cat's comfort but also maintains ideal ear health. To start, you'll need a high-quality ear cleaning solution specifically formulated for cats. Avoid using products meant for humans or other animals, as they can cause irritation or harm.
Next, have a set of cotton balls or gauze pads on hand. These materials are gentle on your cat's delicate ear tissues and help in effectively wiping away debris and excess solution. Cotton swabs, often used by humans, are not recommended because they can push debris further into the ear canal or even cause injury.
A towel is another vital item. Cats can be unpredictable and may squirm during the cleaning process, so wrapping them securely in a towel can help keep them calm and prevent sudden movements that might lead to injury.
Additionally, consider having a small flashlight. This tool will allow you to better see inside your cat's ears, making sure you clean them thoroughly without missing any spots.
Understanding the appropriate cleaning frequency is essential. Over-cleaning can disrupt the natural balance of your cat's ear environment, while under-cleaning can lead to a buildup of wax and debris, potentially causing infections. Typically, once a month is sufficient for most cats, but consult your veterinarian for personalized advice based on your cat's specific needs.
Choose the Right Time
Timing is essential when it comes to cleaning your cat's ears. To guarantee a smooth process, you need to choose the best times when your cat is calm and relaxed. This reduces stress for both you and your feline friend, making the procedure more effective and less traumatic.
Cats exhibit different behaviors depending on their daily routines. Observing your cat's behavior can help you determine the best moments for ear cleaning. Ideal times are usually after a feeding session or a playtime when your cat is likely to be more docile. Avoid times when your cat is hyperactive or agitated, as this will make the task more challenging.
Here's a quick reference table to help you determine the best times based on typical cat behavior:
| Best Times | Cat Behavior |
|---|---|
| After Feeding | Usually relaxed and content |
| Post-Playtime | Likely to be tired and less resistant |
| Before Naptime | Calm and in a resting state |
Inspect Your Cat's Ears

Inspecting your cat's ears is an essential initial step to guarantee their health and cleanliness. Start by gently restraining your cat in a calm and secure environment. Use a soft towel to wrap your cat if needed, ensuring they feel safe and less likely to squirm.
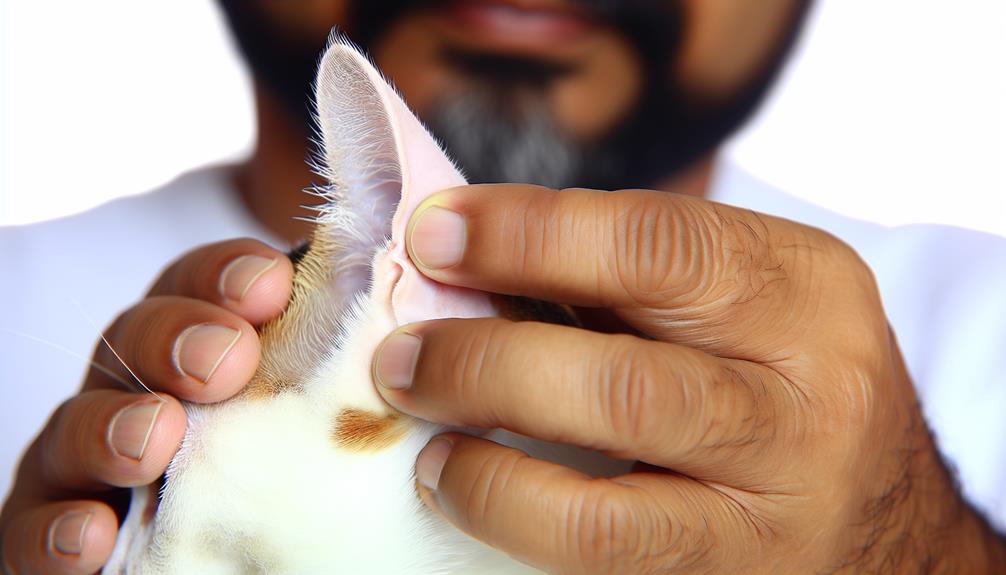
Begin by visually examining the outer ear, or pinna. Look for any signs of redness, swelling, or unusual discharge, which could indicate ear health issues such as infections, mites, or allergies. The skin should be pale pink and free from scratches or wounds. Pay attention to any foul odor emanating from the ear canal, as this could signify bacterial or yeast infections.
Next, carefully inspect the inner ear using a small flashlight if necessary. Gently pull back the ear flap to get a clear view of the ear canal. The canal should be clean and light pink in color. Look for common issues such as excessive wax buildup, debris, or parasites like ear mites. If you notice dark brown or black debris, it could be a sign of mites, which requires veterinary attention.
Also, observe your cat's behavior during the inspection. Scratching, head shaking, and sensitivity to touch can indicate discomfort or underlying ear health problems. If your cat displays any of these symptoms, consult your veterinarian before proceeding with any further cleaning.
Prepare the Cleaning Solution
Preparing the cleaning solution is a crucial step in guaranteeing your cat's ears are properly cleaned without causing irritation. You'll want to use a solution that's both effective and gentle to maintain your cat's ear health. While commercially available ear cleaners are generally safe, you can also prepare a homemade solution if you prefer.
First, gather your supplies. You'll need distilled water, white vinegar, and a clean container. The table below outlines the ingredients and their quantities for a standard homemade ear cleaning solution:
| Ingredient | Quantity |
|---|---|
| Distilled Water | 1 cup |
| White Vinegar | 1 teaspoon |
| Mixing Container | 1 clean bottle |
| Measuring Tools | 1 set |
To prepare the solution, follow these steps:
- Combine Ingredients: Pour one cup of distilled water into the clean container. Add one teaspoon of white vinegar to the water. This dilution guarantees that the solution is gentle enough for your cat's sensitive ears.
- Mix Thoroughly: Shake the container well to make sure the vinegar is evenly distributed throughout the water. This will help in breaking down any wax or debris in the ears.
- Storage: Store the solution in a cool, dark place. Make sure the container is tightly sealed to maintain the solution's effectiveness. It's recommended to prepare a fresh batch every few weeks to guarantee ideal ear health.
- Labeling: Clearly label the container with the contents and the date it was prepared. This helps in maintaining the cleaning frequency and avoiding accidental misuse.
Apply the Cleaner

To apply the cleaner, first guarantee you've selected an appropriate feline ear cleaning solution. Gently administer the cleaner into your cat's ear canal, following the product's specific instructions for dosage. Carefully monitor your cat's reaction, watching for signs of discomfort or irritation.
Select Appropriate Cleaner
Choosing the right cleaner for your cat's ears is an important step in the cleaning process. When selecting ear cleaning products, prioritize those specifically formulated for feline use. Over-the-counter solutions are readily available, but it's vital to choose a product that is gentle, pH-balanced, and free from harsh chemicals. These formulations help maintain the delicate ear environment and prevent irritation or allergic reactions.
Natural alternatives can also be effective. Solutions containing ingredients such as aloe vera, witch hazel, or chamomile are often well-tolerated by cats and can provide soothing and antimicrobial benefits. However, always consult your veterinarian before using any natural remedy to verify it's safe and effective for your pet.
To apply the cleaner, you'll need a few supplies: cotton balls or gauze pads, and the selected ear cleaner. Avoid using cotton swabs, as they can push debris further into the ear canal or cause injury. Gently warm the solution to body temperature, as cold liquids can cause discomfort or stress for your cat. With everything prepared, you're ready to proceed with the application, assuring a calm and controlled environment for your feline friend.
Gentle Application Technique
A gentle application technique is fundamental to guaranteeing your cat's comfort and the effectiveness of the ear cleaning process. Begin by assembling your cleaning tools: a vet-approved ear cleaner, cotton balls or gauze, and a towel. It's essential for maintaining ear health and preventing ear infections.
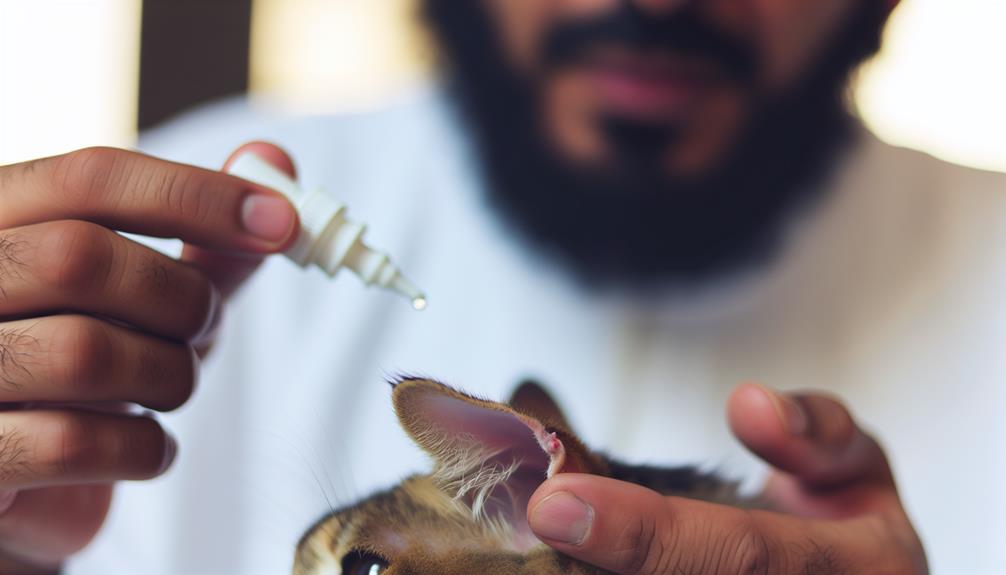
First, hold your cat securely but gently to minimize cat anxiety. Wrapping your cat in a towel can help stabilize their movements. Gently pull back the ear flap to expose the ear canal. Refer to vet recommendations for the proper amount of cleaner to use, typically a few drops.
Slowly apply the cleaner into the ear canal, avoiding direct contact with the dropper to prevent contamination. Massage the base of the ear for about 20-30 seconds to help loosen earwax buildup. This step is important for cat grooming and ensures the solution reaches deep within the ear canal.
Use a cotton ball or gauze to wipe away any debris and excess cleaner. Avoid using cotton swabs, as they can push debris further into the ear and cause damage. Cleaning frequency should be based on your vet's advice, as over-cleaning can irritate the ear and affect feline behavior. Always prioritize cat comfort throughout the process.
Monitor Cat's Reaction
Your feline friend's comfort should be your primary concern as you monitor their reaction to the ear cleaner application. Begin by observing your cat's behavior closely. Signs of distress, such as excessive head shaking, vocalizing, or attempts to escape, indicate discomfort. These reactions often point to ear sensitivity, which requires you to proceed with caution.
Apply a few drops of the ear cleaner into the cat's ear canal, following the instructions on the product label. Gently massage the base of the ear to help distribute the cleaner evenly. This action can also help to loosen debris and wax. Monitor your cat's body language during this process; relaxed ears and calm demeanor suggest they are tolerating the procedure well.
If your cat exhibits signs of pain, such as crying out or scratching at their ears, stop immediately. It's essential to differentiate between normal discomfort from the sensation and genuine pain that could indicate an underlying issue. Always consult your veterinarian if you notice persistent adverse reactions. Monitoring your cat's reaction guarantees that the cleaning process is both effective and humane, respecting their ear sensitivity and overall well-being.
Gently Wipe the Ears
To gently wipe your cat's ears, use soft materials like cotton balls or gauze pads to prevent irritation. Apply gentle pressure to remove debris and excess cleaner, ensuring you don't push too hard. Avoid cleaning too deeply inside the ear canal to prevent causing injury or distress.
Use Soft Materials
When cleaning your cat's ears, using soft materials like cotton balls or pads is vital to avoid causing any damage. The delicate structure of a cat's ear canal means that harsh or abrasive fabrics could lead to irritation or even injury. Soft fabrics guarantee that you can maintain your cat's ear hygiene without causing discomfort.
To effectively clean your cat's ears, follow these steps:
- Select the Right Materials: Choose soft, lint-free materials such as cotton balls or pads. Avoid using cotton swabs as they can push debris further into the ear canal.
- Prepare the Cleaning Solution: Use a veterinarian-recommended ear cleaning solution. Soak a cotton ball or pad with the solution, guaranteeing it's damp but not dripping.
- Gently Wipe the Ears: Carefully wipe the outer part of the ear and the entrance of the ear canal. Make sure to use gentle, circular motions to lift away dirt and wax without applying too much pressure.
Apply Gentle Pressure
Applying gentle pressure while cleaning your cat's ears is essential to guarantee you don't cause any harm to the delicate ear structures. Begin by positioning your cat comfortably, making certain they're relaxed. Use a soft, damp cloth or a cotton ball specifically designed for ear care. Avoid cotton swabs as they can be too abrasive and may push debris further into the ear canal.
Gently hold the base of your cat's ear and lift it slightly to expose the inner surface. With your other hand, take the damp cloth or cotton ball and apply gentle pressure, wiping the visible part of the ear. Move in slow, circular motions, making certain you cover all accessible areas without inserting the material into the ear canal. This method helps remove dirt and wax buildup while maintaining proper feline hygiene.
During the process, observe your cat's reactions. If they seem uncomfortable or in pain, stop immediately and consult a veterinarian. Regular but gentle ear cleaning helps prevent infections and guarantees your cat's ears remain healthy. Remember, the key to effective ear care is a gentle touch, making certain you maintain your cat's comfort and safety throughout the cleaning process.
Avoid Deep Cleaning
One essential aspect of ear care for your cat is avoiding deep cleaning, which can cause more harm than good. Deep cleaning can damage the delicate structures inside the ear canal, leading to infections or injuries. Instead, focus on gently wiping the outer ear to maintain ideal ear health.
When cleaning your cat's ears, follow these steps:
- Preparation: Gather your supplies, including a soft cotton ball or pad and a vet-approved ear cleaning solution.
- Technique: Lightly moisten the cotton ball with the solution and gently wipe the visible parts of the ear. Avoid inserting anything deep into the ear canal.
- Cleaning frequency: Perform this gentle cleaning only when necessary, such as when you notice visible dirt or wax buildup.
Reward Your Cat

After successfully cleaning your cat's ears, it's vital to reward your feline friend to reinforce positive behavior. Positive reinforcement is a powerful tool in animal training that helps to build a trustful and cooperative relationship. By providing treat rewards, you guarantee that your cat associates ear cleaning with a positive experience, making future cleanings easier and less stressful.
First, choose a high-value treat that your cat loves but doesn't receive frequently. This could be a specific type of cat treat, a small piece of cooked chicken, or even a bit of tuna. The key is to use something special that your cat will find irresistible. Immediately after the ear cleaning process, offer the treat to your cat. Make sure to use a calm and soothing voice to praise them while giving the treat. This combination of verbal praise and a tangible reward solidifies the positive reinforcement.
Next, consider incorporating other forms of positive reinforcement such as gentle petting or playtime. Some cats respond well to physical affection or engaging in their favorite game. If your cat enjoys being brushed or playing with a particular toy, use these activities as additional rewards.
Monitor your cat's behavior to understand what kind of rewards they prefer. Each cat is unique, and what works for one might not work for another. Consistency is important. Make certain that each ear cleaning session concludes with a reward to build a predictable and positive routine for your cat.
Conclusion
Cleaning your cat's ears might seem like a Herculean task, but it's surprisingly straightforward. You've gathered your supplies, chosen the perfect moment, and meticulously inspected those delicate ears. Applying the cleaner and wiping away debris is practically a spa treatment for your feline friend. The irony? The toughest part is convincing your cat that you're not plotting against them. Reward them generously, because in their eyes, you've just performed a miracle worthy of a medal.
